Libraries for DDS on bare-metal
| authors: | Furkan Ali Yurdakul |
|---|---|
| date: | June 2020 |
Description
![title Application Layer Diagram
[Hardware (Ethernet)] -up-> [Network Stack (LWIP)]
[Hardware (Ethernet)] <-down- [Network Stack (LWIP)]
[Network Stack (LWIP)] -up-> [Middleware (DDS)]
[Network Stack (LWIP)] <-down- [Middleware (DDS)]
[Middleware (DDS)] -up-> [Application (GPIO)]
[Middleware (DDS)] <-down- [Application (GPIO)]](../../../_images/plantuml-e477cdb111b2e13d97c71eac46590c747a8a7550.png)
The application layer diagram shows the layers of embedded bare-metal hardware when implementing DDS. On top, there is the Application layer where the main software runs. The main software does the calculations with the input and outputs. The Middleware is where the DDS library belongs. This library will set a proper message whatever it is you are sending or decypher whatever you are receiving. DDS makes use of the TCP/IP protocol to send messages on a low level through the Eternnet port. For this the Light Weight IP (LWIP) is used in the Network Stack layer.
- For this tutorial the following products have been used:
- Nucleo
- Lenovo Thinkpad T470 (Windows)
- Micro USB cable
- STM32CubeIDE
Start project based on “.ioc” file
Until now 2 projects have been made on the STM32CubeIDE to test some parts of the Nucleo. Now we will make a final project, however this project is a little bit different from the others. This project will be based on C++, because the main library needed for DDS is based on C++. More about this library can be read later on this page.
Because most of the stuff is already done earlier in this guide, we will skip the
parts where we add most of the libraries. This can be done by starting a project
from a “.ioc” file. The .ioc file used for this guide can be found in
src/demonstrators/BareMetalEmbedded/embedded_rtps_stm32.ioc. Download this
file to your workspace and continue with the guide.
First, you will have to select that the project needs to be based on a “.ioc” file. Click on File followed by New. In this tab select STM32 Project from STM32CubeMX “.ioc” file.
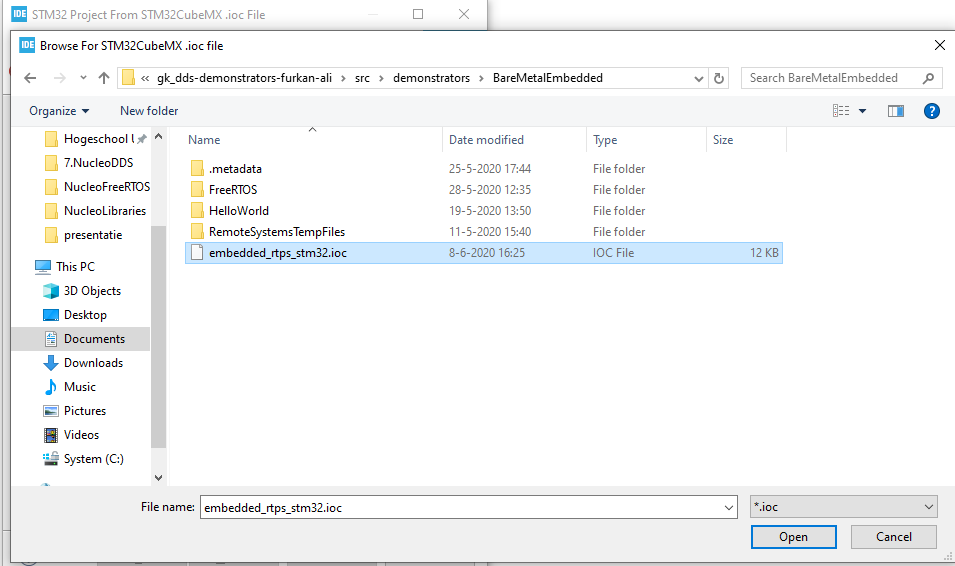
On this pop-up select the downloaded “.ioc” file.
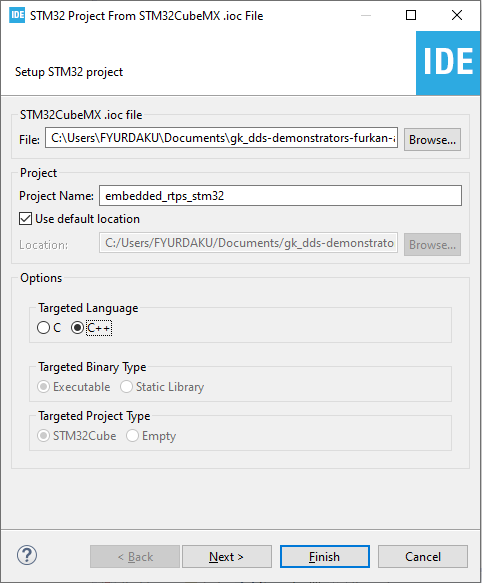
Select C++ as a targeted language and finish building the project.
Because you have started a project from another source, the next step will be about doing a check if everything is set as it should be.
Check Libraries
If you made a project from the “.ioc” file, you shouldn’t need to do this. But to prevent any mistakes you could check if every library is included
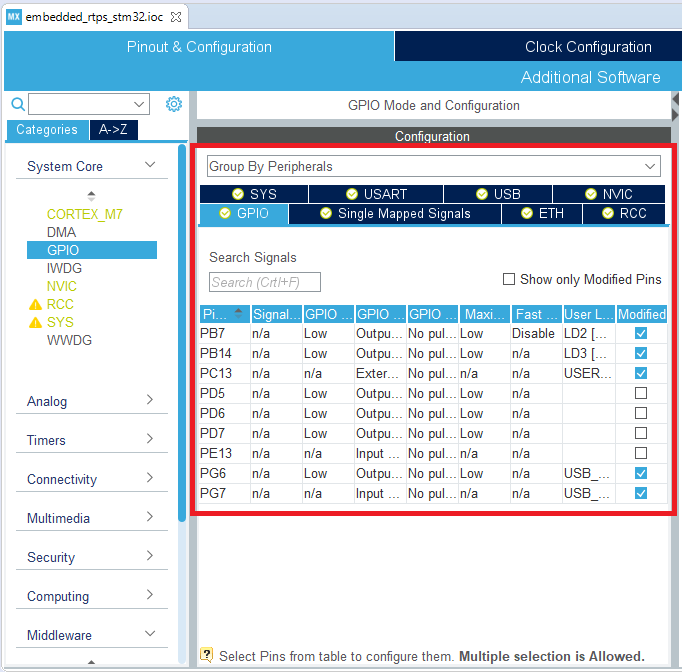
First, check if all the GPIO pins are set as expected. these pins include some LED’s, in- and output for USART and Ethernet pins.
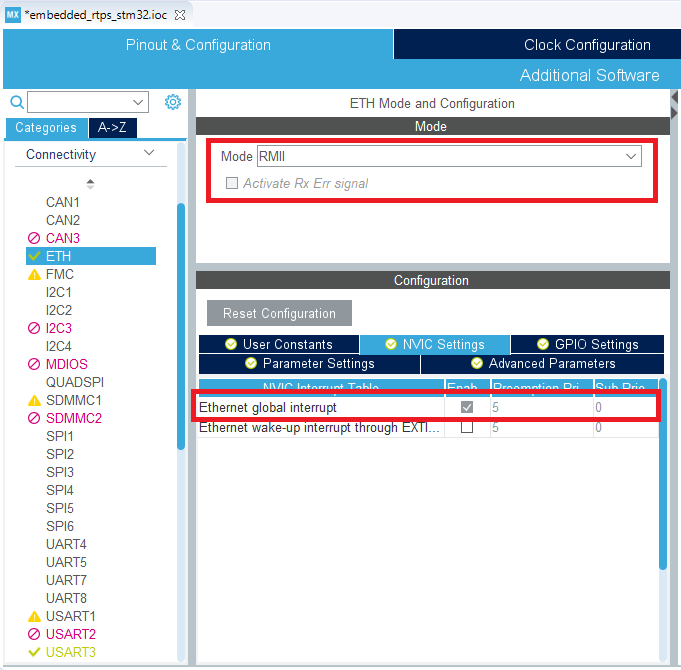
For the Ethernet port, it is also important to have the global interrupt enabled. This interrupt is used for the TCP/IP communication via the Ethernet port.
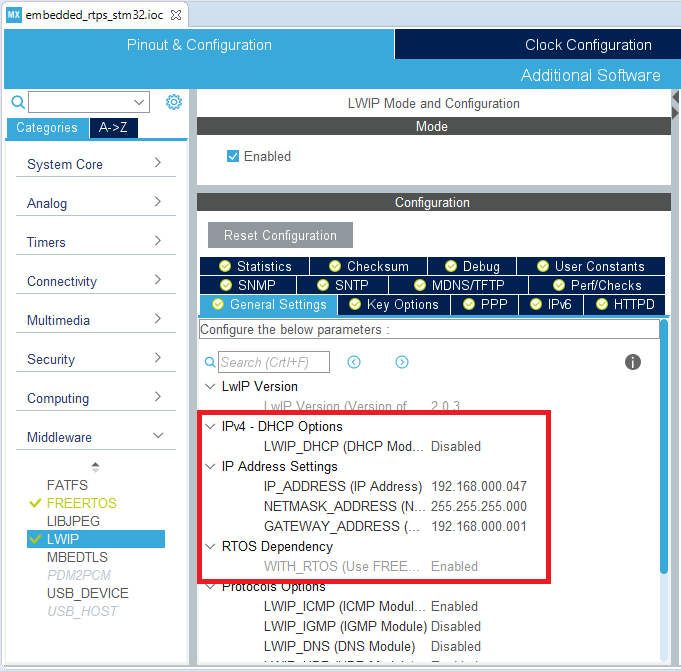
The LWIP is the library used for the TCP/IP communication. For this guide, the DHCP option is disabled and the IP settings are hardcoded. This will make the guide easier and focus more on DDS instead of the TCP/IP communication.
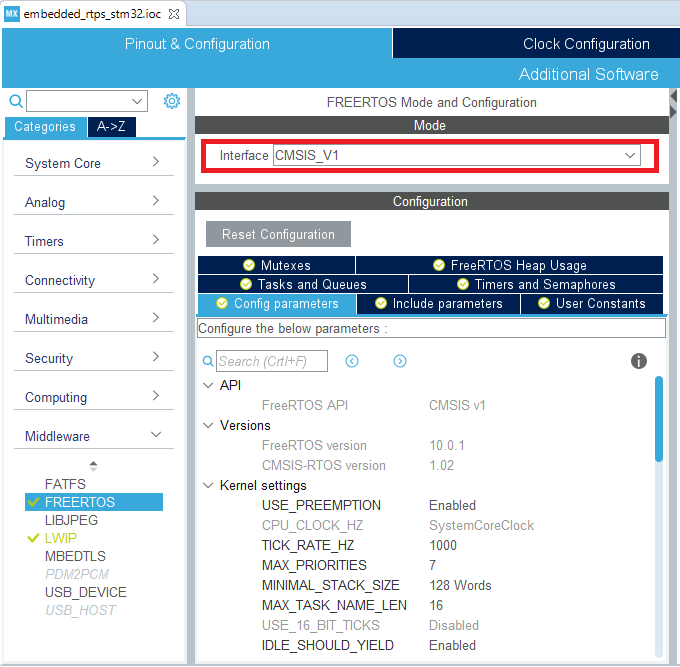
Last but not least you will need to check if FreeRTOS is enabled. The only importance is that FreeRTOS is enabled and there is no need for more tasks. The default task is enough to show the working of DDS.
If your project is matching the settings in the images above, you can continue with the next step.
Ported DDS
Several university students have ported the DDS library on to multiple devices, including the Nucleo. This ported library will be used for this project. To obtain the library, you will need to make use of the program Command Prompt.
The library can be found online on GitHub. Because it is available on GitHub we can make use of the “git clone” command in Command Prompt to get a copy of the library on your computer. The library will then be placed in the folder of our project.
The first step is to make sure your directory is set to the folder of the project DDS. This is needed to provide easier access to the library within the software.

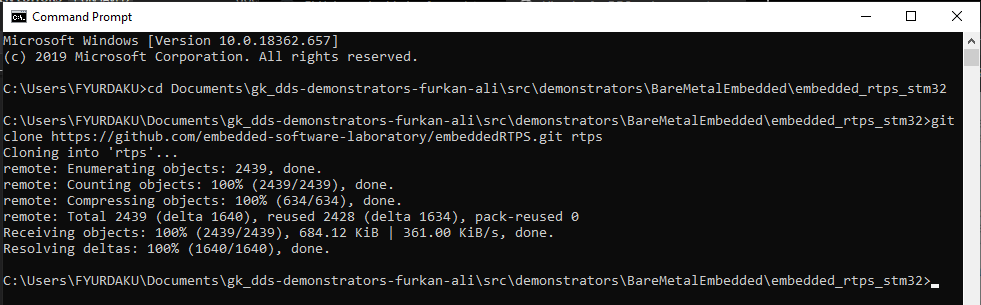
When you have successfully changed your directory, enter the following command to get the ported DDS library by making use of git.:
git clone https://github.com/embedded-software-laboratory/embeddedRTPS.git rtps
This is how Command Prompt should look like when finished:
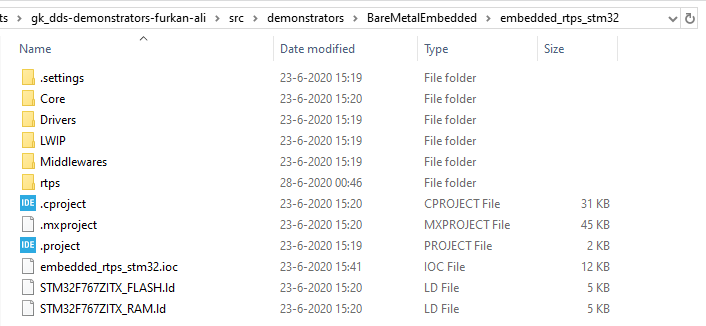
This is how your folder in your project should look like when finished:
If you don’t want/have git on your computer, click on the link to the Github page and make sure to download the DDS library to the right directory in your workspace.
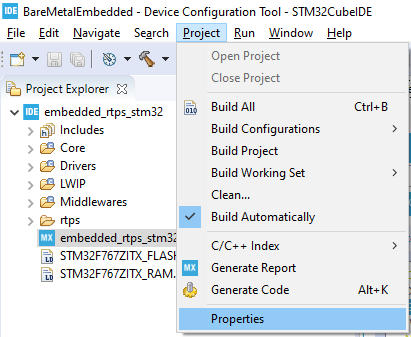
This folder will now be in your workspace, but the IDE won’t recognize it as a library. For the IDE to recognize this library, you would need to open the properties of the project.
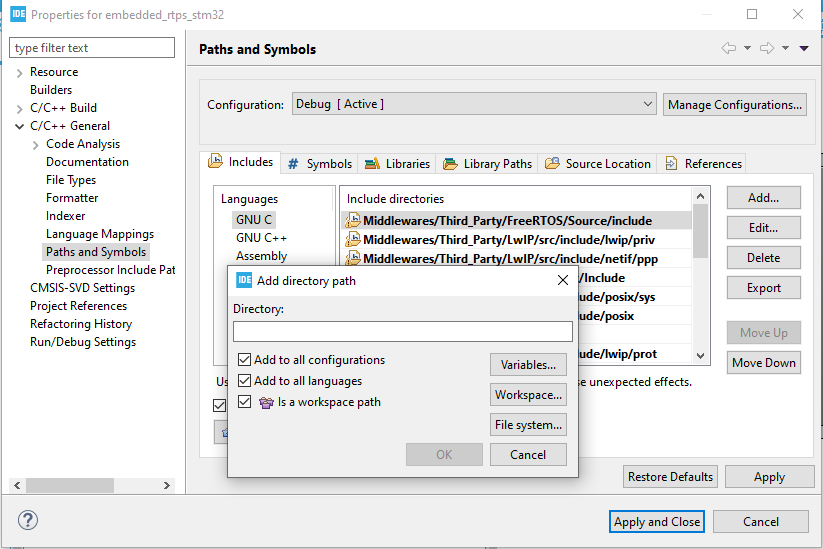
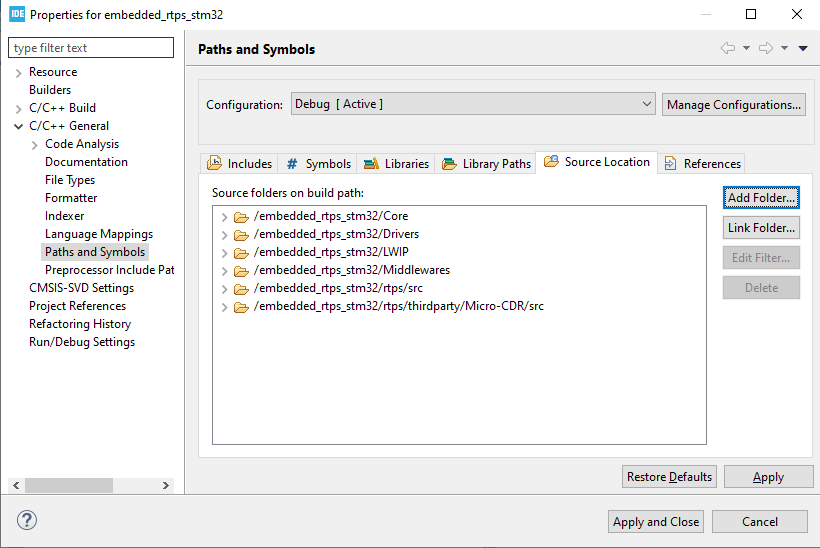
In the “Paths and Symbols” category you will need to add the include folders and source folders of the library. To add this include to all the compilers, select all the options. This will add them to all compilers instantly.
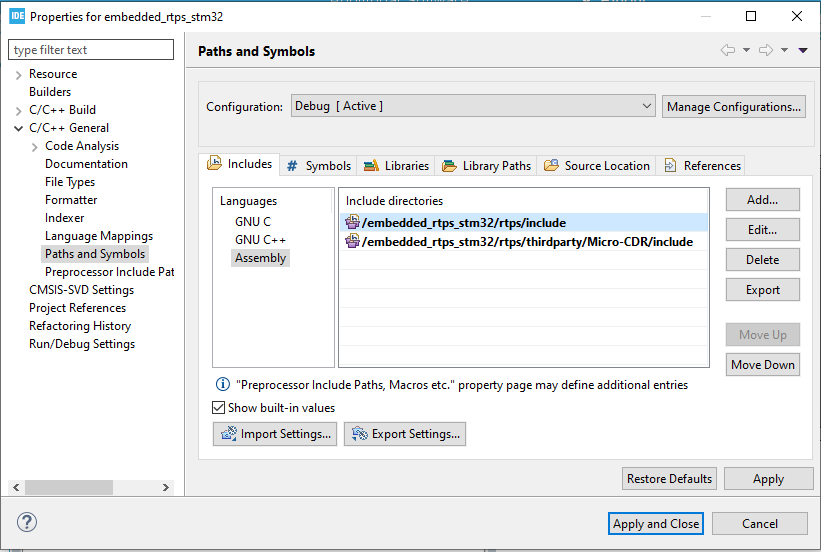
After including all the “include“ folders of the library, it should look like the following image.
In the Source location sub-category, make sure to add the “src“ folders from
the library. This should show the following settings:
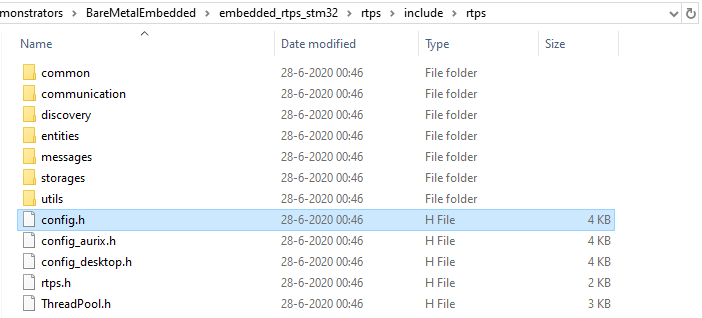
The last thing that needs to be changed is a filename of a specific configuration
file. As you could read from the GitHub page linked earlier. This libary is ported
to several devices, thus including multiple config files. To make sure you make
use of the correct one, you will need to change the “config_stm.h” to “config.h”.
This “config_stm.h” can be found in embedded_rtps_stm32\rtps\include\rtps.
At this point, you have added all the needed libraries and set all the correct settings to make use of the ported DDS library. In “DDS Coding”, the focus will be on the code of using the library and see the results of the code.